Troubleshooting LED strip lights is a necessary skill if you use these lights.
That’s because you can run into several issues, which can be annoying and frustrating not knowing what to do.
Also, often it’s something you can do yourself.
This article outlines nine common LED strip issues and how to troubleshoot them.
9 Common LED Strip Issues and How to Troubleshoot Them
1. LED Strip Lights Won’t Turn On
Have you connected your LED strip lights to the power source and checked everything, but the lights won’t turn on?
Well, don’t despair. Here’s how to troubleshoot the problem:
Check the Connection
Now the first thing to do is check the connection. For this, you need more than a physical inspection.
A physical inspection may not reveal all the details required to troubleshoot your LED lights.
So using a multimeter, check for a possible short circuit.
Check for Visible Damage, Dirt, Dust, or Corrosion
Like with any shipment, LED lights can get damaged during shipping.
When that happens, you may notice smashed or dented connectors, which will not pass current.
Also, check that they’re not covered with dust or corroded, another reason the lights won’t turn on.
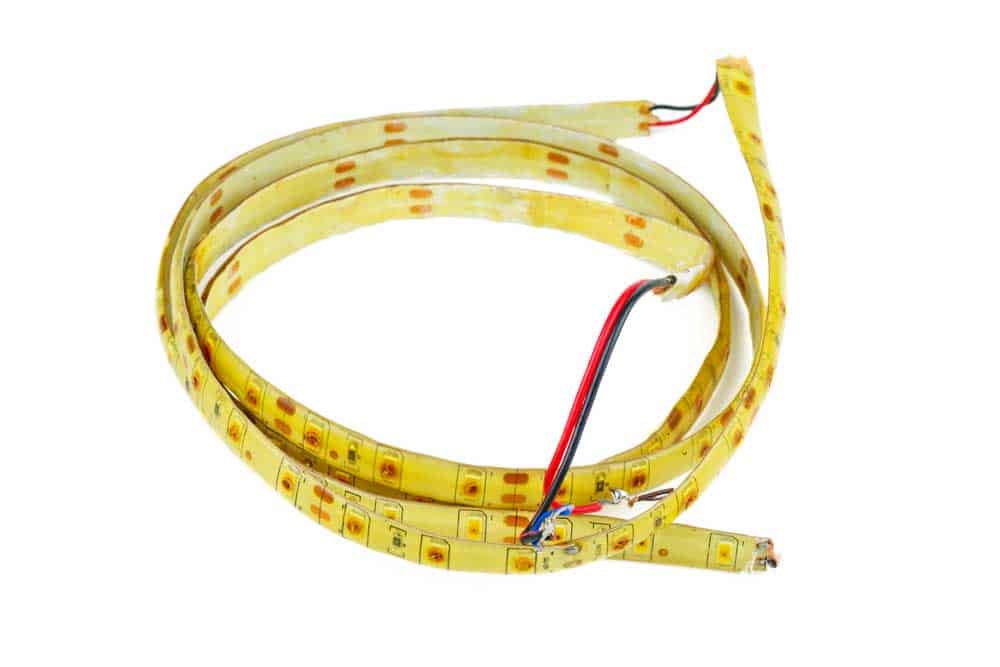
(Caption: Visibly damaged LED strip lights)
Check That The Connections are Correctly Orientated
Now check for the correct orientation of your power supply and LED light connections.
Also, LEDs are polarized, meaning current flows in one direction from the positive End to the negative End.
So ensure you have connected your LEDs to the circuit correctly so there is LED connection polarity.
Loose Connection
Another thing to check for is loose connections in your circuit.
These may be loose connectors and wires that may have fallen out.
So tighten the cables on your direct current (DC) connector and, if possible, use solderless connectors.
Test Voltage
You can use a multimeter to verify that the voltage passing across your output wire is correct.
If your multimeter indicates a voltage less than the one rated, you likely have a malfunctioning power supply.
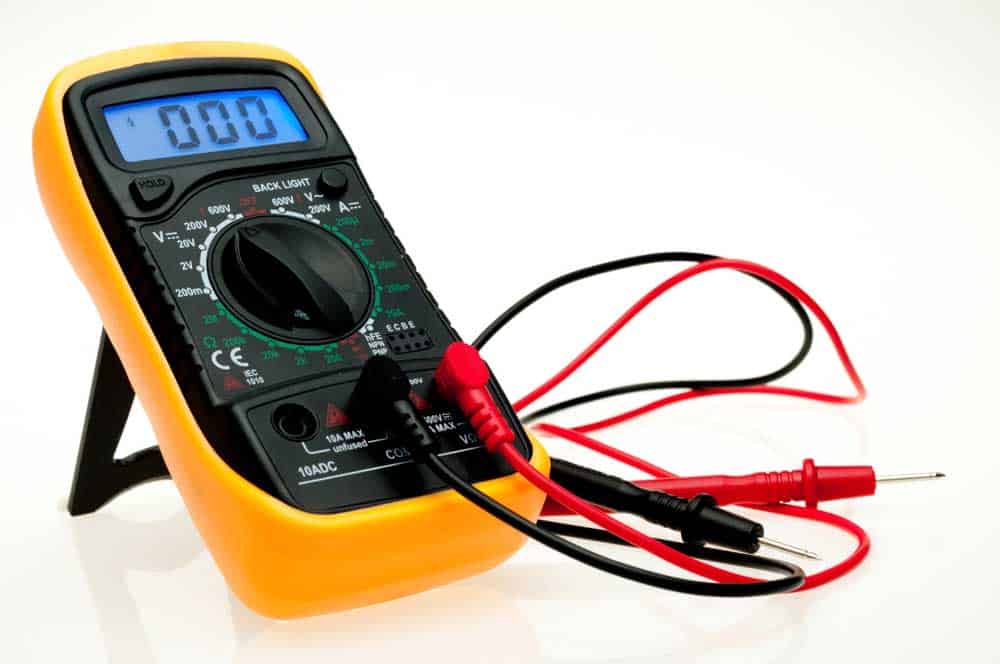
(Caption: Multimeter)
Confirm Compatibility
Next, ensure that your power supply meets your LED strip lights’ demands.
For example, if you attempt to use 24V LED strip lights with a power supply of 12V, it will not work.
Also, consider the voltage requirement for the application.
For example, Christmas lights require a higher voltage than other types of lights.
On the other hand, having a high voltage, more than your lights’ demand, may damage your LED lights.
2. LED Strip Lights Won’t Turn Off
If your LED strip lights won’t turn off, likely your power supply needs fixing.
But first, try using several power supplies to ascertain that it’s your power supply with an issue.
If the problem persists, then the problem could be with your power controller.
In this case, you may need in-depth inspections to correct it.
3. LED Strip Is Dim on One End
Check Power Requirements
Typically, LED strip lights have their recommended power supply indicated across the strip length.
Likely, your strip is longer than the stipulated amount of power.
Therefore, a limited amount of power is reaching the far End of your strip.
Check If You Cut them Wrong.
Now manufacturers design strip lights so that there are specific sections to cut them.
And if you fail to follow the instructions and cut outside the indicated marked lines, you risk damaging some areas of your strip.
So countercheck the run length and identify places where you have kinked wires.
Check for Electrical Resistance
Another cause of dimming on one End of the LED strips is poor contact points or corroded copper.
These factors cause electrical resistance.
Therefore, ensure that the contact stays clean and sufficient.
It’s advisable to note that poor contact can cause your circuit to heat up, leading to a fire hazard.
Check for Voltage Drop
Also, measure the voltage across the copper pads at the various sections of the LED strip lights to determine the voltage drop point.
Usually, you notice a decrease in voltage as you move away from the power source.
And often, what causes the power drop is using an incompatible power, less than what the LED lights demand.
4. LED Strip Lights Won’t Change Color
Check the Wires
See, there are different wires for each Color in the RCB diodes.
Check for looseness, bending, or snapping in all of these wires.
Often, when that happens, it’s a manufacturing error, and fixing it may take a lot of work.
Therefore, if you can’t get a replacement according to the warranty, you should purchase another LED strip light.
Only ensure it’s from a reliable manufacturer.
Check for Dead Diodes
Now the diodes are the main elements that produce the various light colors in a LED strip light.
And when these die, the led strip lights won’t change Color.
You’ll know that the diodes are dead from the black mark they leave behind.
If that’s the case, you can then replace or try to repair your strip.
And if you cannot physically identify dead diodes, then a multimeter can help.
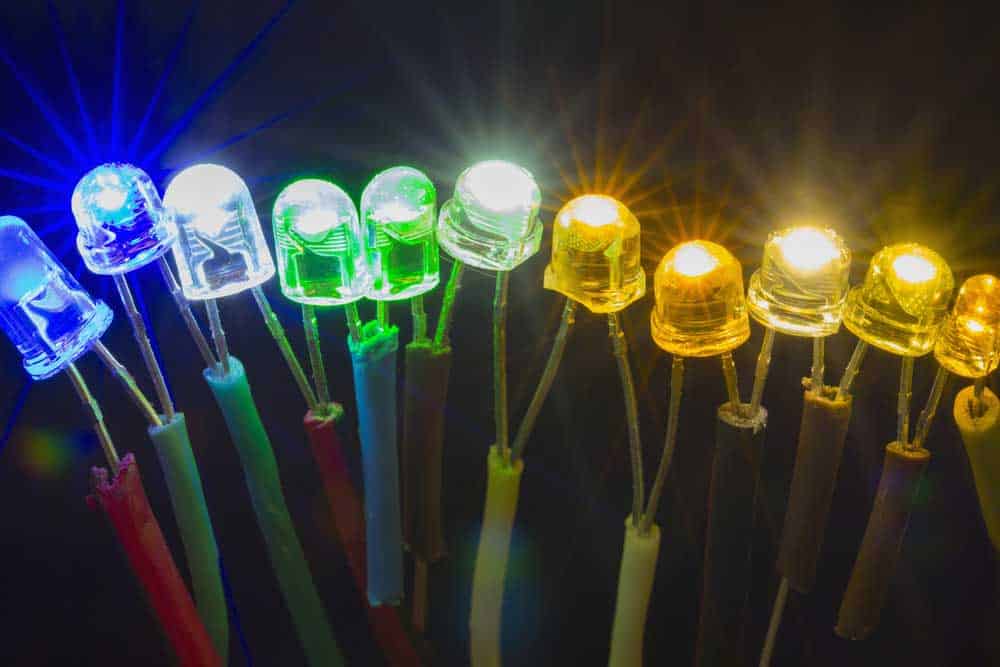
(Caption: Diodes)
5. LED Strip Growing Dimmer
Check for voltage drop due to power supply issues or loose or corroded connection between the strip and power supply.
If you find either of these, then you only need to correct your wiring by, for example, tightening the loose wires.
Or you might need to replace your power supply.
However, sometimes it’s the diodes that are slowly dying off.
In such cases, you may need to replace the strip lights.
6. Some Sections of the LED Strip Don’t Light Up
If some of your LED strips, maybe three to six, won’t light up, you likely have an open circuit.
And the reason this is so could be mechanical damage or manufacturer flaws.
In such cases, you’ll notice looseness on one of the LEDs in the strip, causing a disjoined electrical circuit.
If so, you may consider soldering the section or replacing the strip with a better one.
7. LED Strip Adhesive Coming Off
Usually, the issue of the adhesive coming off results from loose or insufficient double-sided tape. In such cases, the solution is to reapply a new layer of the tape.
Alternatively, you might want to use a form of mounting brackets and screws for permanent mounting.
It’s the best way to prevent any hazards caused by electrical hazards.
8. Flickering LED Strip Lights
Buzzing, flickering, or flashing is another common issue, with several reasons behind it.
For example, loose connection, power supply issues, dirty sockets, wiring issues, and incompatibility.
But generally, flickering or flashing at a consistent interval indicates an overloaded power supply.
In other words, you have too many strip lights on the same power supply and must consider reducing the number of lights. Alternatively, use a larger power supply.
9. Buzzing LED Strip Lights
Incompatibility, faulty power supply, overloaded power supply, and faulty components are probable reasons lights buzz.
Sometimes, though, all you need to do is change placement to reduce vibration.
But if this does not work, ensure the lights’ compatibility with the dimmer switch.
This and faulty or low-quality bulbs or components are the number one cause of buzzing.
FAQs
What Causes LED Strip Lights to Stop Working?
Usually, the number one cause is incompatibility, wrong connections, or issues with the power supply.
Thankfully, correcting these issues is possible, and you now know how.
But sometimes it’s just that the bulbs are bad and need replacing.
How Do You Reset LED Strip Lights?
Simply unplug the power supply and then, after five minutes, replug.
Note you might need to repeat this a few times.
If your LED strip lights are smart, locate the control button (the rectangular one on the front).
Now press and hold it for about fifteen seconds.In both cases,
you’lll know you’re successful when the lights flash green or res.
Conclusion
That’s it on troubleshooting LED strip lights. As we’ve seen, several issues may call for troubleshooting.
But understanding each problem and its possible cause is the key to determining the appropriate solution.
Thankfully, it’s not so hard to troubleshoot, and it’s often something you can do yourself.
Sometimes, though, you may need the assistance of a professional.