Solar LED lights components are readily available and straightforward to install.
Moreover, adopting solar energy is a way of promoting the use of clean and renewable energy.
If you plan to install LED lights on solar energy, you must know the accompanying components.
Additionally, there are a lot of variations on how to configure your system to make the best out of it.
In today’s article, we look into solar LED light components. Let’s begin.
Solar Panel Assembly
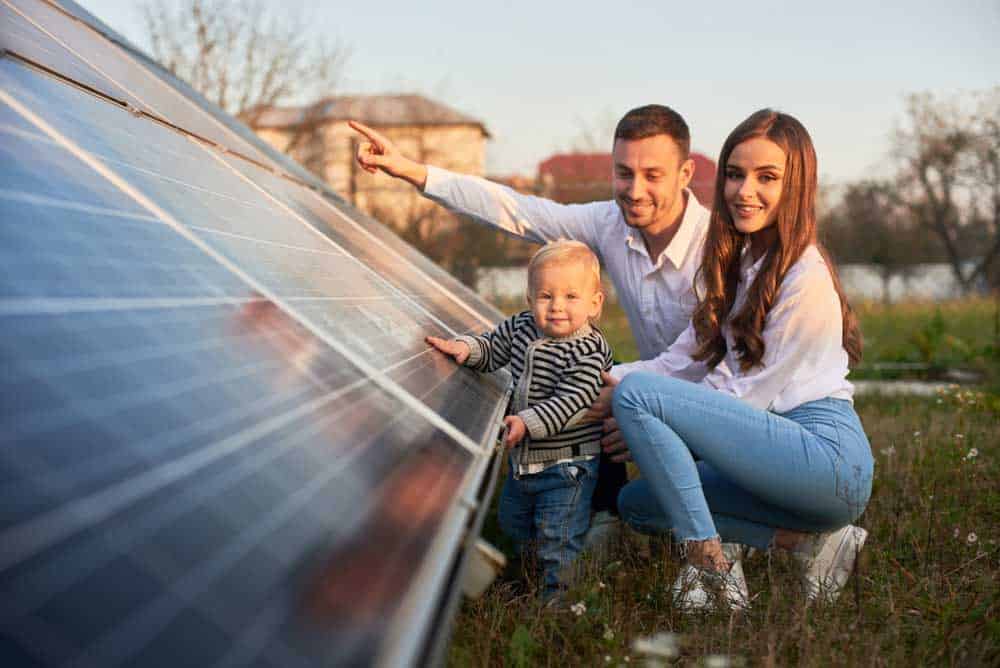
(A family posing next to a ground-mounted solar assembly)
A vital part of a solar LED light assembly is the solar panel, which uses photovoltaic cells to convert sunlight to electricity.
In other words, it relies on photons to energize and knock atoms releasing electrons.
The flow of electrons generates electricity in the form of direct current (DC) energy.
Solar panels are getting more popular due to their numerous advantages.
First, they provide clean, renewable, and sustainable energy, unlike fossil fuels that produce greenhouse gas emissions.
Consequently, they go a long way in combating climate change and protecting our environment from air pollution.
Secondly, if you could trap all the solar energy reaching Earth in a day, there’s a chance that you could power the world for a year.
That’s how much energy we receive from the sun in a day.
Moreover, installing a solar panel in your home saves you the money you would otherwise spend paying monthly energy bills.
Third, solar panels are tough and require minimal maintenance after installation.
You may have to do regular inspections and cleaning to remove dirt and debris from its surface.
Too much dirt will cover the photovoltaic cells reducing the panel’s efficiency in trapping the solar energy.
Installing Solar Panel for LED Lights
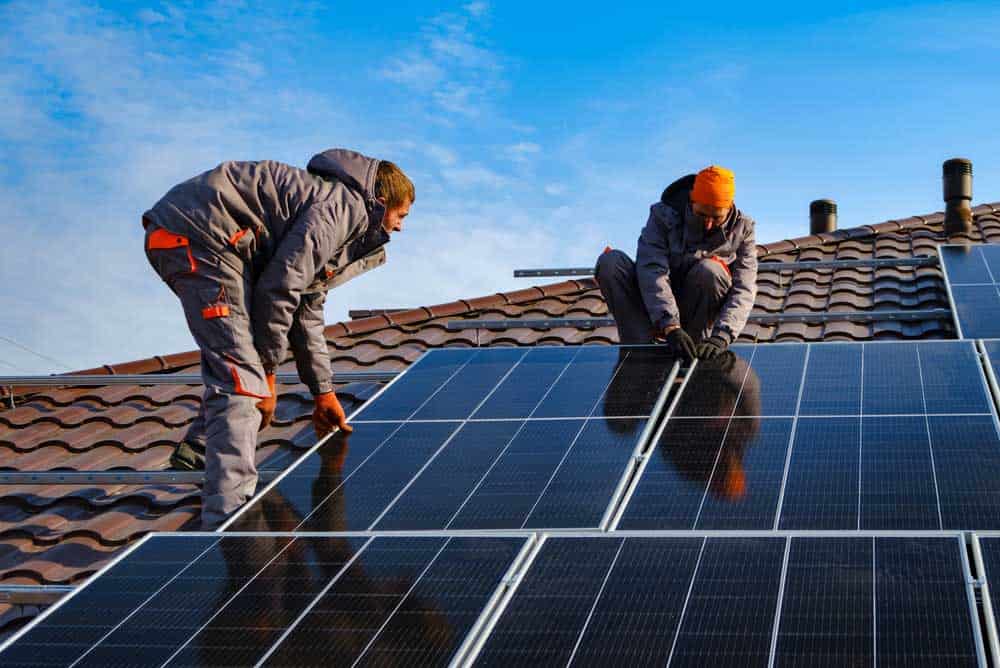
(Installing solar panels on a roof)
First, you must assess the energy needs of your LED lights and any other accompanying system.
Generally, you’ll get this information from the LED specifications chart.
Second, you need to consider your solar panel’s size and installation location.
If it’s a small panel, we recommend installing it on a pole.
However, install big panels on the ground or the roof, with the latter being the better option.
Third, you will inspect the roof to see if it has the right structural integrity to support your solar panel and mounting equipment.
Furthermore, it has to support your weight during installation and subsequent maintenance routines.
Fourth, install the right mounting system that secures your solar panel on the roof.
Generally, solar panels withstand harsh weather elements like snow and winds.
At no time should it collapse under stress from the elements.
Fifth, use the wiring diagram to connect the solar panel to the batteries and other components like the power inverter.
Finally, consult an electrician on how to earth your solar panel system to safeguard against electrical faults.
Rechargeable Battery Assembly
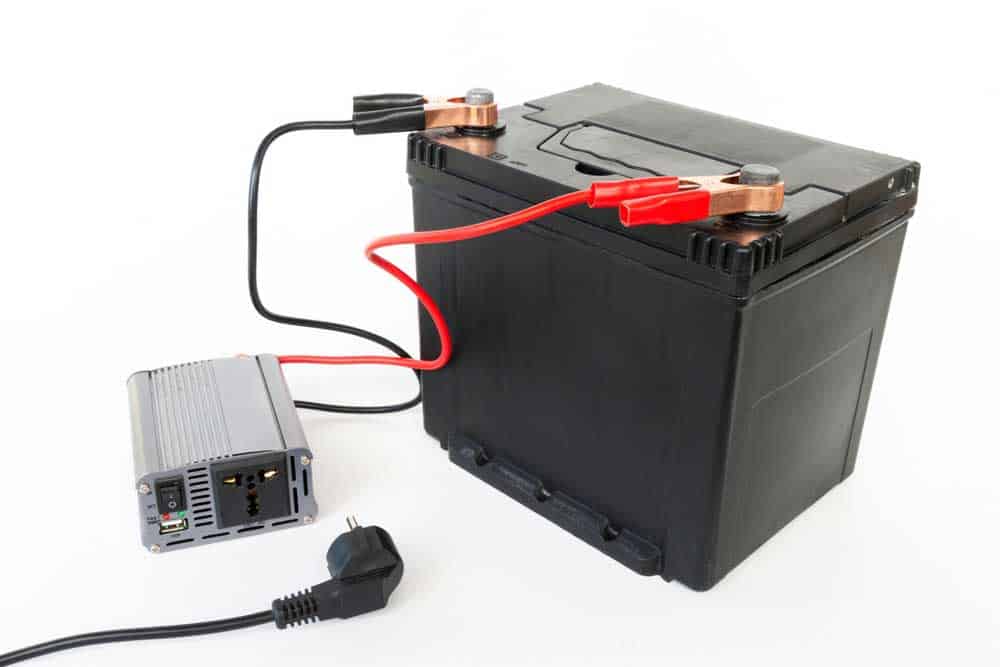
(An inverter connected to a 12V rechargeable battery)
LED lights need a certain level of power to shine brightly.
For instance, a 12V LED will shine brightest at that voltage and dims as it gets less power.
And solar panels convert the most energy when the sun shines brightly and less when in dense clouds.
Consequently, you must install a rechargeable battery between your solar panel and LED to keep the voltage supply constant.
Additionally, it allows the solar LED lights to operate at night or in low-light conditions.
Charge Controllers
A charge controller is a device that regulates the flow of charge into and out of a battery.
Consequently, it prevents overcharging of deep cycle batteries during the day.
Moreover, it ensures that power doesn’t flow back toward the solar panel at night or in low-light conditions.
Some charge controllers have additional features like timer settings, light control, and load control.
The Pole
You may need a pole that holds them in place for ground-mounted solar panels.
The advantage is that you can install light-detection sensors that turn the solar panels toward the sun.
Therefore, you will trap the maximum allowable solar energy to power your LEDs.
Solar LED Lights Miscellaneous Components
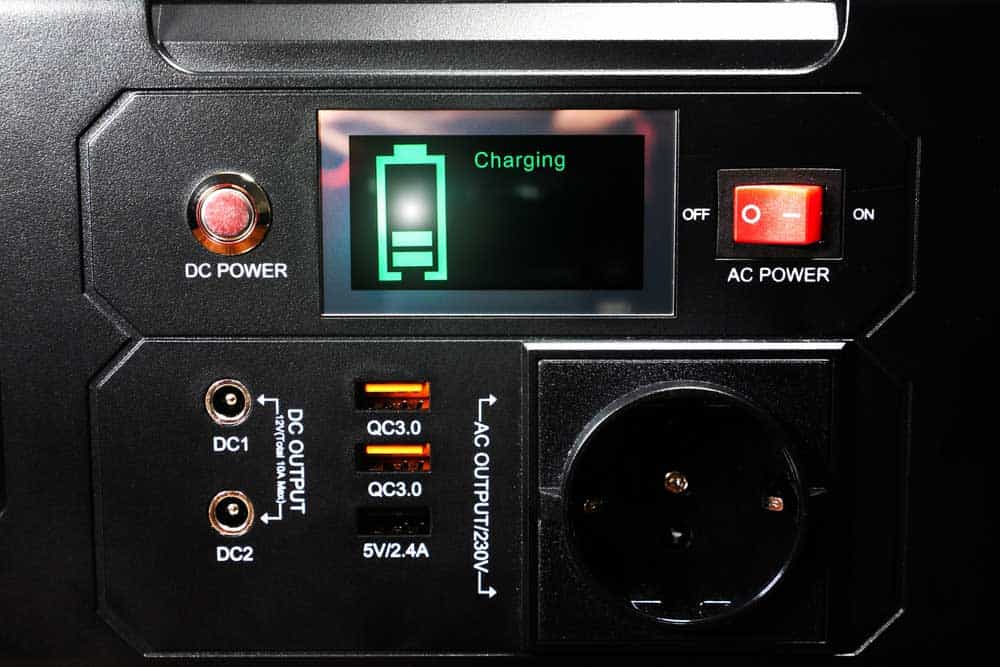
(A battery charge level indicator)
In addition to the main components, solar panels for LED lights have other parts for better functionality. They include:
- Light sensors: Light sensors or photocells detect ambient light conditions. Consequently, they allow the LEDs to turn on at dusk or off at dawn.
- Motion sensors: Some LED fixtures have motion sensors that allow the LEDs to turn on whenever they detect motion within their range.
- Remote control: You can pair your LED lights with remote controls to adjust brightness levels, and activate motion sensor modes, among other roles.
- Battery level indicator: They provide information on your battery’s charge and discharge status. Consequently, you can monitor and ensure the optimal operation of your LED lights.
FAQs
What’s the lifespan of solar LED lights?
Generally, the lifespan of well-maintained solar LED lights ranges from 50,000 to 60,000 hours.
However, they can last fewer hours due to several reasons.
First, those made of high-quality materials tend to last relatively longer than the rest.
Therefore, only buy the LEDs from reputable manufacturers as quality contributes to their longevity.
Second, supplying a fluctuating electrical current or voltage can lessen LED lights’ lifespans.
Consequently, if you use a rechargeable battery, ensure it always has the required power.
Third, environmental factors like harsh weather conditions and excessive moisture degrade LED components.
Fourth, poor maintenance, like failure to remove dirt and replace faulty components, slashes the solar LED lights’ lifespans significantly.
Do solar LED light components need regular maintenance?
The number of maintenance routines on your solar LED light components varies depending on the surrounding conditions.
For instance, you must do more maintenance on solar LEDs in harsh or industrial environments.
Similarly, you will do the same for waterproof LEDs for underwater illumination.
Conversely, LED components for indoor use require very little maintenance, if any at all.
You’ll need periodic cleaning, battery maintenance, and component inspection per the manufacturer’s recommendation.
Why are your solar LED lights not working?
Your solar LED lights might not be working for a couple of reasons.
First, you may find that the power supply unit is faulty and isn’t passing any electrical current to the LEDs.
To test this, use a multimeter to see if any voltage or current comes from the unit.
Second, your LED lights may be faulty due to previously overpowering the circuit.
Generally, LED lights have a range of voltages and electric currents that they can work in.
Any additional power to the circuit will damage the LEDs; hence you will notice they are not working.
Third, it may be that your battery is flat or faulty and not supplying power to the LEDs.
Here, check the battery connections to ensure they are secure and free from corrosion.
Fifth, check for faulty connections, wrong control settings, or faulty components.
Any of the three will result in your solar LED lights not working.
Conclusion
Most solar LED light components come ready to install from the manufacturer, and all you need to do is install them using connectors.
However, ensure that the solar LED components and the battery or power supply capacities match.
For example, a small panel might fail to charge your battery fully.
Conversely, a very large panel might overcharge your battery, thus causing damage and reducing the lifespan.
Fortunately, we have charge controllers to limit excess charge from reaching your LEDs or battery.