You’re in the right place if you’re here to learn how to connect LED strip lights.
For your information, connecting LED lights lets you extend the length, and there is no limit to the strip length you can create.
However, it would be best to have LEDs with similar connector types and voltage to achieve this.
Generally, the LED light connection process involves cutting the strips, connecting the relevant terminals using solder/connectors, and using heat shrink tubing to improve the connection strength.
And in the end, you must power on the circuit to test functionality.
Today’s article helps you understand how to connect LED strip lights. Let’s get rolling!
Ways of Connecting LED Strip Lights
After acquiring identical LEDs, you can proceed to connect them.
But the big question is, how do you achieve this?
You can choose any of the options below to connect LED strip lights.
Using Solder
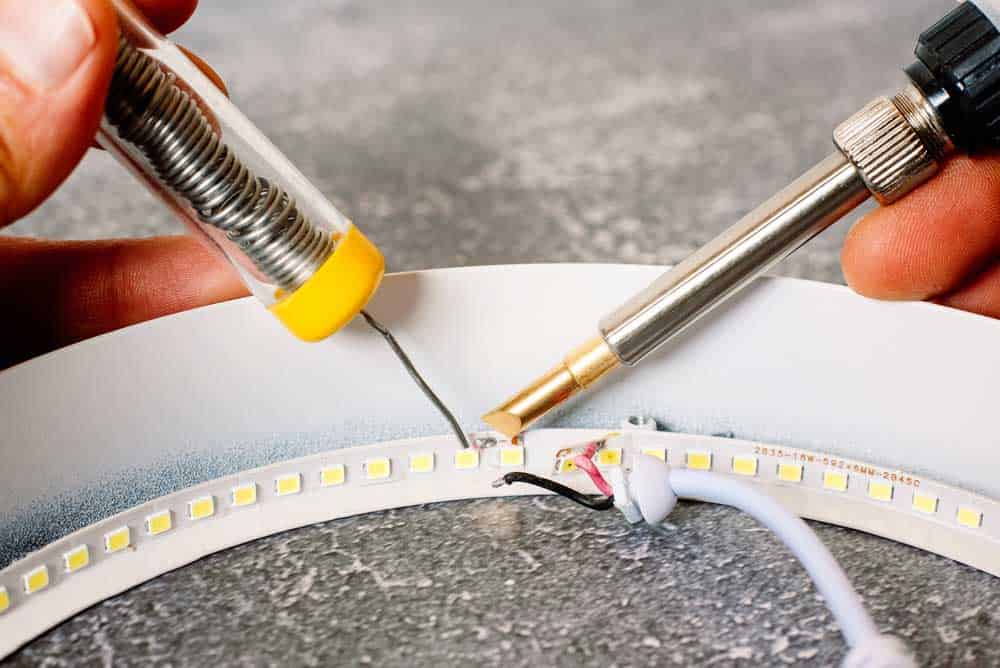
(Man soldering LEDs)
Soldering LED strip lights is quite straightforward, especially if you have the right hands-on experience and the relevant tools.
But before you start the soldering process, check the LED strip copper pads.
Generally, an LED strip has positive and negative pads, and you should link the positive pad of one LED to the positive pad of the next one.
Similarly, do the same for the negative pads.
Afterward, apply some solder on the pad and complete the soldering process.
However, it would be best if you were very careful when dealing with RGB LED strips since they have four pads making them difficult to solder.
But as long you know how to align the copper pads properly, you’ll find the process straightforward.
Using Connectors
Besides soldering, you can also use connectors to connect LED strip lights.
Therefore, you should buy connectors based on your LED strip type.
For example, RGB LED strips have four copper pads, while single-color LED strips have two copper pads.
As far as LED strip light connection is concerned, we have three connector variants.
First, the clamp-style connector clip clamps the two LEDs together and places a flip cover over them.
Surprisingly, this connector variant produces seamless results, and you might be tempted to think the two LEDs are a single strip.
Secondly, you’ll come across connector clips having pins on both ends and a small cable in between.
We highly recommend this variant to avoid obstacles or use your LED strips to make angles.
Finally, we have connectors with connecting clips on one end and exposed wire on the other end.
Therefore, you’ll find them useful at the end or start when connecting the strips to a power supply.
Step-by-Step Guide To Connecting Multiple LEDs
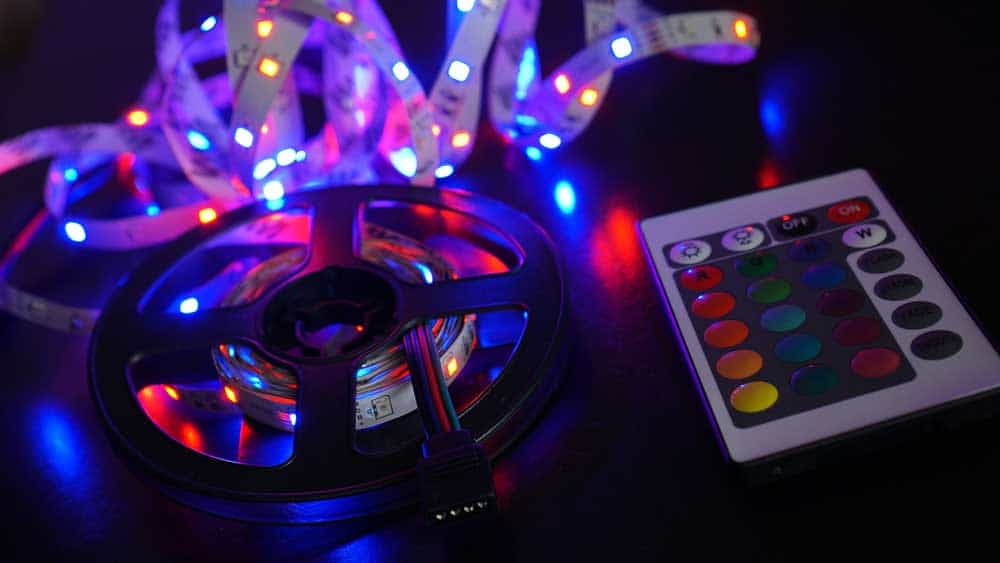
(LED strip with control panel)
Follow the below steps to connect multiple LEDs correctly.
- First, ensure all your LED strip lights have compatible connector types and voltage requirements. Also, ensure the power supply is off for safety purposes.
- Secondly, LED strips come with designated cutting marks. Therefore, cut the strips and peel the coating to expose the copper pads. However, you should peel off and expose enough copper.
- Thirdly, choose an appropriate connection method between using connectors and solder. We’ll highlight how to handle each option.
- The soldering process involves aligning the copper pads to the two LED strips you wish to connect. At this point, your soldering iron should be hot and ready to apply solder. Therefore, apply some solder on the tip to the pads to create a strong joint. However, the heat and solder should be just enough not to damage the LED strips. And once you’re sure everything is ok, employ electrical tapes or heat shrink tubing to insulate your connection.
- For the connector option, place the strips together, aligning the negative and positive terminals. Next, snap the connectors into the strips and ensure they attach firmly. You can then switch on the power supply to test your circuit to see whether it works effectively.
- Finally, repeat the process highlighted above until you finish all your LEDs.
Connecting Multiple LED Strip Lights To Power
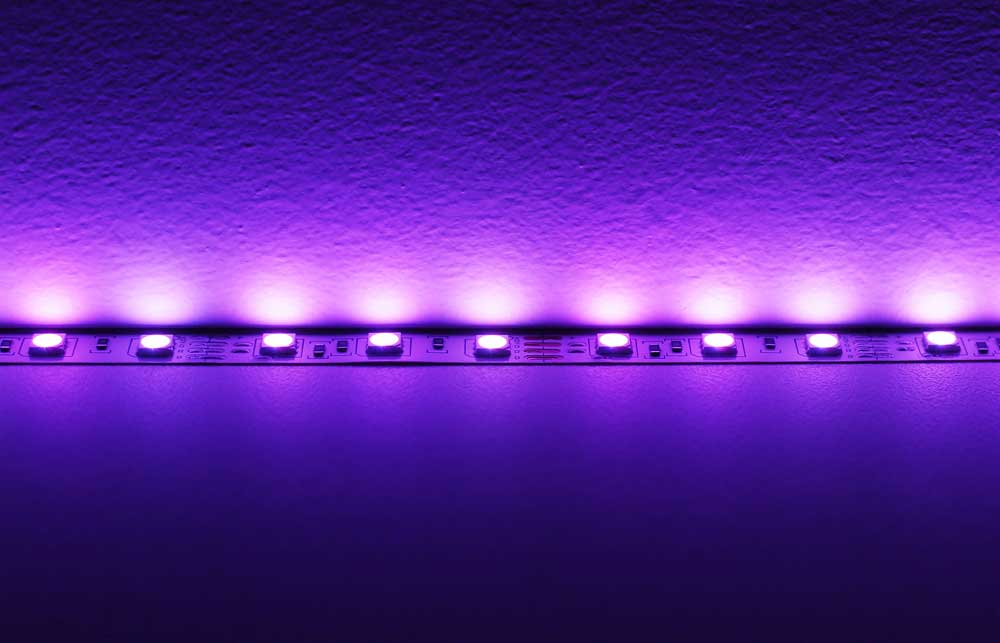
(Purple multiple LEDs already connected)
Connecting an LED to a power supply is simple since you must link the LED’s positive terminal to the anode and the negative to the cathode.
However, what you must focus on regarding the power are the wattage supply and requirements.
For example, let’s assume you purchase an LED drawing about 12 watts. Adding four more LEDs will mean that they draw a combined 48 watts.
Therefore, the best solution would be to use a power source that supplies 60 watts
. Luckily, most manufacturers mention the power consumption on their packaging, and you only need to be careful enough to identify it.
Benefits of Connecting Multiple LEDs
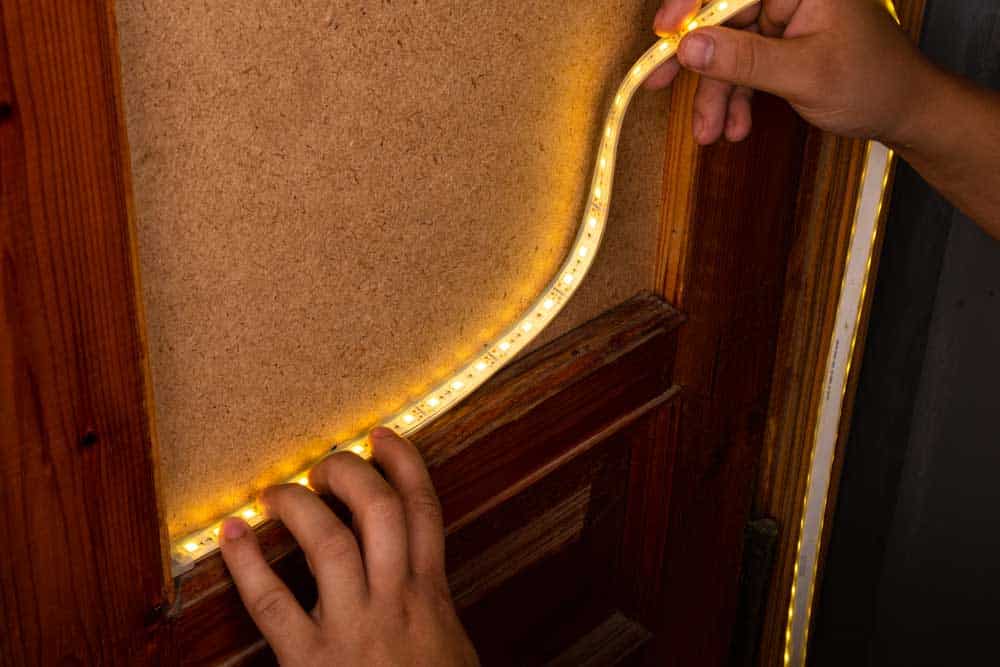
(Connecting yellow LED light)
By connecting multiple LEDs, you’ll enjoy the following benefits.
Extended length: There is no better way to cover a larger area than by adding the number of LEDs.
Also, we noted that extending length also creates an immersive lighting experience.
Versatility: If you connect multiple LEDs, you can customize and design as per your preference and need.
For example, you can create curves or even intricate patterns.
Uniformity and brightness: Connecting several LEDs guarantees that the target area gets uniform illumination and maximizes maximum brightness.
Therefore, it becomes possible and easier to illuminate large areas.
Simplified control: By connecting several LEDs, you’ll share the power supply and the control unit.
Therefore, if a problem arises in the circuit, you can easily make changes cost-effectively.
Scalability: If you need to extend your lighting area, you can easily add more LEDs.
Funny enough, any adjustments or additional LEDs won’t affect the existing circuit.
Energy efficiency: We know LED strips for their high energy efficiency.
Therefore, by connecting several LEDs, you’ll enjoy increased energy efficiency over an extended area.
FAQs
Why is your LED failing to work after cutting?
Even after cutting your LED, it might fail to work thanks to the following reasons:
- Faulty connectors or poor soldering practices
- Poor cutting outside the designated cutting marks
- A voltage mismatch, especially if you fail to adjust the power supply properly
- Damaged copper pads, thus affecting the electrical connection
How do you select a perfect LED power supply?
The LED connection process won’t be successful if you don’t select the power supply well. To begin with, the power supply and the LED strip light should have a compatible voltage.
Moreover, your power supply capacity should exceed LED power requirements.
And despite the supply being highly efficient, it should also comply with your preferred dimming method.
Finally, the power supply should contain overheating, short circuits, and overload protection safety features.
Final Remarks
As highlighted, connecting LED strip lights is straightforward and even simpler if you follow this guide.
Funny enough, there is no limit to the number of LEDs you can connect to form a circuit.
However, the power supply voltage should be compatible with the LED voltage.
Moreover, the supply power should exceed the total LED power requirement.
And most importantly, implement safety precautions on the power source, including overloading and short circuit protection.