Brighten Up Your Space, Are you wondering how to attach LED lights to walls in your home or commercial space?
Well, the lights have been revolutionary, making more people prefer them for accent and mood lighting.
They consume less energy, are robust, and will last years with proper maintenance.
Moreover, they offer unidirectional lights that are great for task lighting applications.
In other words, you can use LED lights for almost every lighting application you can think of.
Today’s article delves into the world of light-emitting diode lights with more attention on attaching them to a wall.
Also, it looks at why they are better for wall hanging than traditional light sources. Read on.
A Beginner’s Guide to Mounting LED Lights to Walls
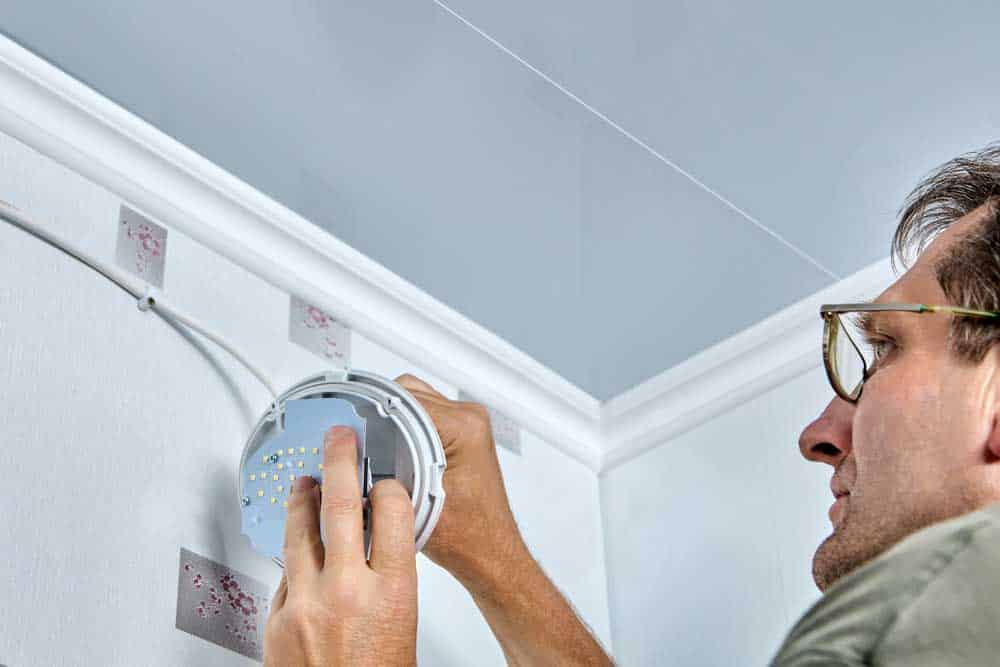
(Electrician mounting LED lights on a wall)
Attaching LED lights is easy, particularly if you have the correct type of tape and expertise.
Nowadays, most people find mood lighting attractive and would like to install LED lights on their walls but don’t know how.
Here we give instructions on the best mounting the LEDs without complex tools.
First, study your LED lights to see whether they have adhesives. If not, you will take the second step of analyzing the wall type.
You are better off drilling into the wall if it’s wooden or plastic.
However, you are better off using adhesives because you can’t do the same on a metallic, glass, or tiled wall. or double-sided tape.
Afterward, here are the steps to take during installation:
- Study the wall to plan your LED strip lights’ routes and access to a power supply.
- Choose the strip, whether RGB or RGBW
- Consider the LED strip’s density and waterproofing capabilities
- Choose the perfect strip controller
- Provide a compatible power supply
Does the Type of Wall Matter?
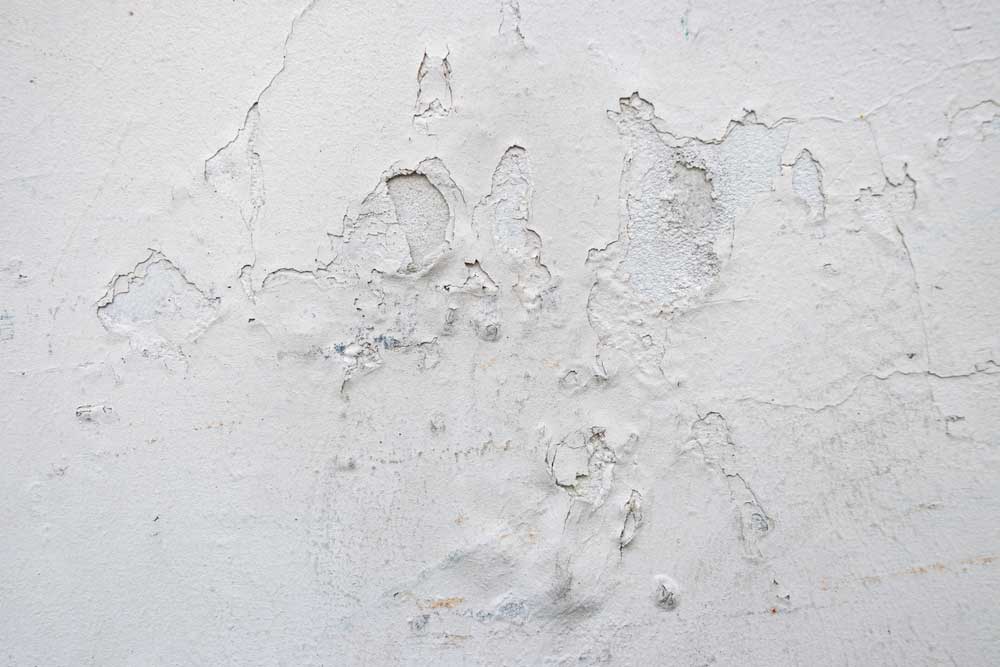
(A wall with damaged paint)
The type of wall to install LED lights matters, especially if you live in a space where you don’t want to damage your walls.
And as interior design choices keep on changing, there’s a need for adhesives that don’t damage walls.
Moreover, you may install an LED light for some time, after which you will remove it for personal or aesthetic reasons.
Walls that don’t suffer from much damage when you install LED lights are plastic, metallic, wooden, and tiled walls.
The reason is that the adhesives don’t mess up or infiltrate the structure of the materials.
For instance, adhesives attach LEDs firmly on plastic walls but would peel the paint from a painted wall.
Moreover, adhesives strip bare drywalls and walls with wallpapers. These surfaces have layers of fragile materials that peel off or are prone to damage.
Alternatively, if you prefer to use screws for installation, you’ll risk damaging some painted and tiled walls.
Generally, tiles break upon applying force; hence it’s wiser to use adhesives for walls with tiles.
Ways to Hang LED Strip Lights on Wall Without Adhesive
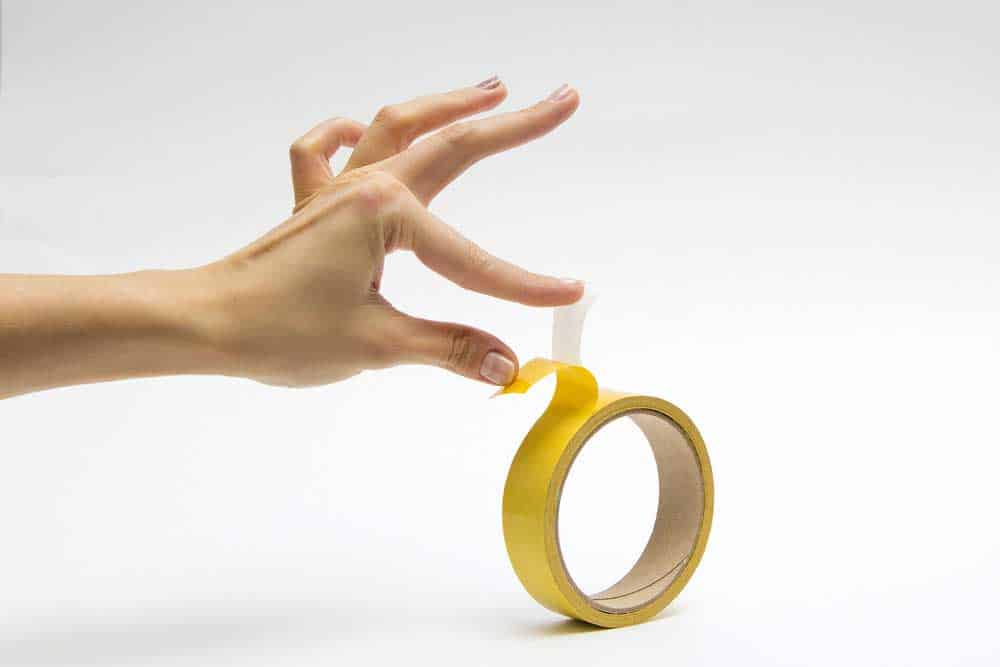
(A double-sided tape)
LED lights improve your home’s illumination and aesthetic appeal. Moreover, they last long, ensuring that you won’t need to replace them now and then.
However, their major shortcoming is that attaching the LED strip lights on a painted wall risks stripping the paint off the surface.
As such, we provide excellent ways to hang your LED strip lights without adhesive.
Double-Sided Tape
A double-sided tape will always be handy when you need a quick fix to your LED strip lights issue.
They are tapes with adhesives on either side, meaning you only need to cut them to the length you need.
Afterward, peel both sides and attach a LED strip onto one while attaching the other to the wall.
The only downside of this hack is that the double-sided tape doesn’t last quite as long as high-quality LED strip adhesive.
Magnets
Magnets are an excellent solution for spaces with metallic walls, as they don’t damage wall surfaces or paint.
Consequently, they are a solution for temporary LED installations, especially in areas with low human or animal traffic.
If you opt to install them in areas with high traffic, there’s a chance that someone may pool them from the surface.
In such a case, you should opt for magnets with adhesive backs.
Velcro Strips
Velcro strips are another option for temporary LED installations.
They are cheap to acquire, easy to remove, and leave your wall in excellent condition.
To use them, attach your LED lights to one side of a velcro strip.
Next, attach the velcro strip to your walls, ensuring it is firmly in place. Then, press your LED strip on the wall firmly, and you are good to go.
Command Strips
Command strips work on smooth surfaces, including metal, finished wood, painted walls, and concrete cinder blocks.
To use them, clean your wall using alcohol to eradicate dust and grime that may interfere with their adhesive integrity.
Additionally, removing them is easy as you just have to pull them away from the wall.
Moreover, follow the manufacturer’s instructions, as each command strip has different properties that impact its installation.
Mounting Clips
Using mounting clips is a permanent fix for LED strip light installation.
However, as you’ll have to drill into a wall, this method may not suit tiled, metallic, and glass walls.
For wooden and plastic walls, drill holes and install the clips every 10 to 30 cm along the wall. Afterward, place your LED strip along the available clips.
Hooks
Alternatively, you can choose to hooks and nails to hold the LED strip onto the wall.
However, this is a permanent installation, so you must somewhat damage your wall.
Run your LED strip after installing the nails or hooks into the wall.
The advantage is that the strips are long-lasting, with high-quality ones lasting more than 60,000 hours.
Why LED Lights Are Better for Wall Hanging
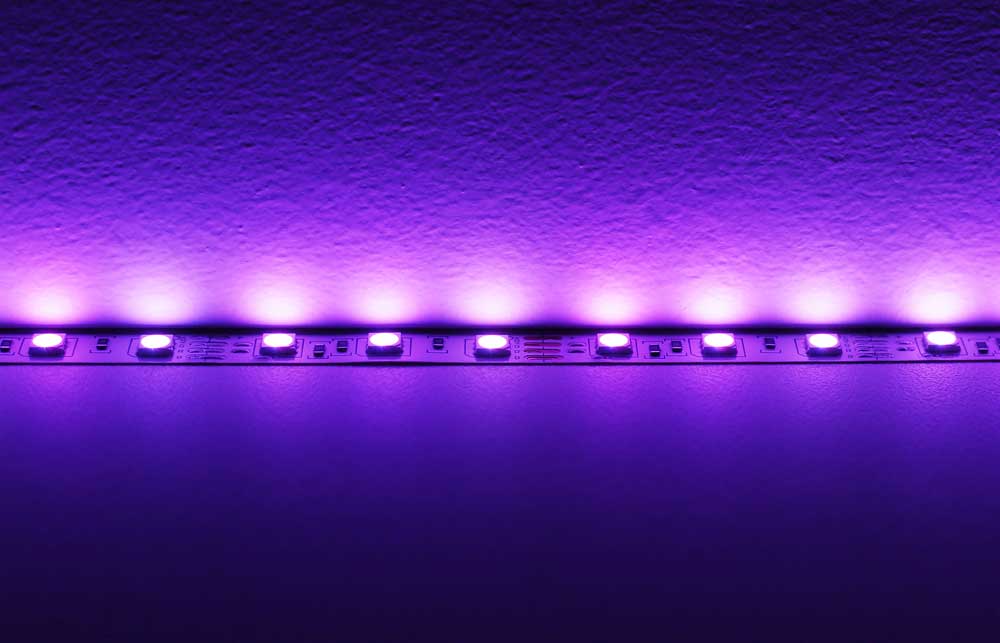
(An LED strip light on a wall)
Generally, LED lights are better for wall hanging as they improve the aesthetics of a room.
They are lightweight and won’t peel the paint or wallpaper off the wall.
Additionally, they don’t require one to route wiring as the LED strips have built-in connections.
Typically, LED lights are long-lasting, with high-quality ones lasting up to 100,000 hours.
In other words, a single LED light that is on for 8 hours daily will last you for as long as 34 years.
Contrastingly, incandescent lights last for around 1,000 hours before burning out.
Another reason is durability, as LED lights are more resistant to shock.
Such is an excellent advantage as they are unlike fluorescent bulbs with a glass casing.
In fact, most traditional light systems can’t work without a gas trapped in a glass or plastic casing.
Other reasons include:
- LEDs are compact, meaning one can easily incorporate them into different decorative elements.
- They have more color options, such as shades and temperatures
- Environmentally friendly
- They are energy efficient as they convert nearly 90 percent of wattage to light energy.
FAQs
What tools do I need to attach LED lights to walls?
The tools you will need to attach LED lights to walls depend on the type of walls and your installation.
Generally, you will need a tape measure, a marker, gloves, and scissors.
Moreover, you need an electrical tester if you need to attach your lights to a power supply.
Other tools include solder iron, solder, screws, an electric drill, and maybe a hammer.
Should I use adhesive tape or screws to attach the LED lights?
You can use either adhesive tape or screws for wooden and plastic walls. Conversely, adhesive tapes work well for walls you can’t drill into without causing damage, like glass walls.
Alternatively, removable mounting putty works well on all walls as it doesn’t need one to drill holes.
Moreover, they don’t attach to paint; you can remove them easily when you no longer need the LED strip lights.
However, only use high-quality putty if you plan on leaving your lights on the wall for a long time.
Conclusion
After installing your LED lights on your walls, you must provide a suitable power supply. In that case, power supplies fail faster when you overdrive them by connecting LED lights to capacity.
To prolong their lives, ensure you multiply your strip wattage by 1.2 to get your best power supply.
Additionally, invest in the correct type of light when making a permanent installation. LEDs last pretty long, meaning you must take the proper steps from the start.